Edit Image
In this tutorial, we are going to learn how to edit image file.
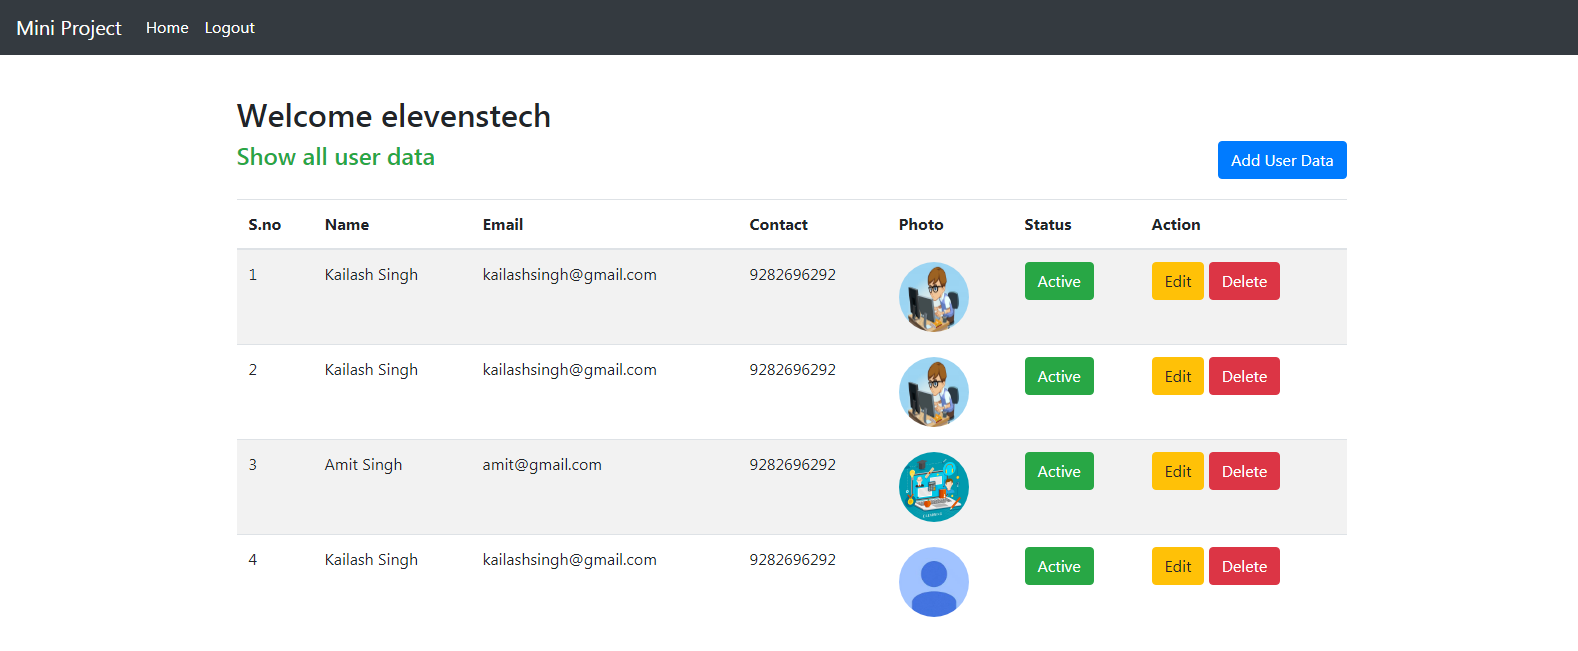
Step 1 : Create a link of edit button for edit user details and then pass user id with link. So that we will get the user's details.
<a href="<?php echo base_url(); ?>dashboard/edit_user/<?php echo $users->id; ?>" class="btn btn-warning">Edit</a>
Step 2 : Open your dashboard controller and create a edit_user function so that we will get the details of the user with the help of ID and we will pass the user details on edit page.
public function edit_user($id)
{
	$this->load->helper('form');

    // load dashboard modal
	$this->load->model('dashboard_model','userdata');

	// get the user detail with the help of ID
	$user_detail = $this->userdata->get_user_detail($id);

	//load edit page and pass user details on edit page
	$this->load->view('edit_user',['user'=>$user_detail]);
}
Now open your dashboard model and create a get_user_detail() function so that we can get user data from database by writting query in it.
public function get_user_detail($id)
{
	$query = $this->db->select('id,photo')
					  ->from('userdata')
					  ->where('id',$id)
					  ->get();
	return $query->row();
}
Step 3 : Create image upload input type in view folder (edit0_user.php).
<label>Photo : </label>
<input type="file" name="photo" class="form-control">
Now create a input hidden field so that if i do not update the new image, then the old image sholud be updated which i have passed in the hidden field.
<input type="hidden" name="old_photo" value="<?php echo $user->photo; ?>">
Get User Id in Hidden field, so that you can update the image.
<input type="hidden" name="user_id" value="<?php echo $user->id; ?>">
The, also show image in edit page. because, what image i uploaded earlier and if i have not uploaded an image, then a default image is shown instead.
//image is not blank then show image otherwise default image will be displayed.
<?php if($user->photo != ''){ ?>

    <img src="<?php echo base_url(); ?>upload/<?php echo $user->photo; ?>" style="width: 70px; height: 70px;">

<?php }else{ ?>

    <img src="<?php echo base_url(); ?>upload/user.jpg" style="width: 70px; height: 70px;">

<?php } ?>
Step 4 : Create action, method in image upload view.
The following HTML code below creates an uploader form. This form is having method attribute set to action, post and enctype attribute is set to multipart/form-data.
<form action="<?php echo base_url(); ?>dashboard/update_user_detail" method="post" enctype="multipart/form-data">
Step 5 : edit upload image code in update_user_detail function in Dashboard Controller.
eg:
public function update_user_detail()
{
	//get user ID
	$id = $this->input->post('user_id');

	$photo = $_FILES['photo']['name'];
	if($photo != ''){
		$photoExt1 = @end(explode('.', $photo));
		$phototest1 = strtolower($photoExt1);
		$new_photo = time().'.'.$phototest1;
		$photo_path = './upload/'.$new_photo;
		move_uploaded_file($_FILES['photo']['tmp_name'], $photo_path);
	}
	else
	{
		$new_photo = $this->input->post('old_photo'); //Get previous uploaded image
	}

	$data = array(
		'photo' => $new_photo, //pass image in database
	);

	// Update image in userdata table
	$this->db->where('id',$id);
	$this->db->update('userdata',$data);

	//Show flash message
	$this->session->set_flashdata('msg','User data has been inserted successfully!');
	$this->session->set_flashdata('msg_class','alert-success');

	return redirect('dashboard');

}
Complete code of Edit image according to project.
Step 1 : Open Dashboard model.
<?php

class Dashboard_model extends CI_Model
{

	public function get_user_detail($id)
	{
		$query = $this->db->select('id,username,email,contact,photo,status')
						  ->from('userdata')
						  ->where('id',$id)
						  ->get();
		return $query->row();
	}

	public function update_user_detail_model($id,$data)
	{
		$this->db->where('id',$id);
		return $this->db->update('userdata',$data);
	}

}

?>
Step 2 : Open Dashboard controller.
<?php
class Dashboard extends CI_Controller
{

	public function edit_user($id)
	{
		$this->load->helper('form');
		$this->load->model('dashboard_model','userdata');
		$user_detail = $this->userdata->get_user_detail($id);
		$this->load->view('edit_user',['user'=>$user_detail]);
	}

	public function update_user_detail()
	{
		$this->load->helper('form');
		$this->load->library('form_validation');
		$this->form_validation->set_rules('name','Full Name','required');
		$this->form_validation->set_rules('email','Email','required');
		$this->form_validation->set_rules('contact','Contact','required');
		$this->form_validation->set_rules('status','Email','required');
		if($this->form_validation->run())
		{
			$id = $this->input->post('user_id');

			$photo = $_FILES['photo']['name'];
			if($photo != ''){
				$photoExt1 = @end(explode('.', $photo));
				$phototest1 = strtolower($photoExt1);
				$new_photo = time().'.'.$phototest1;
				$photo_path = './upload/'.$new_photo;
				move_uploaded_file($_FILES['photo']['tmp_name'], $photo_path);
			}
			else
			{
				$new_photo = $this->input->post('old_photo');
			}

			$data = array(
				'username' => $this->input->post('name'),
				'email' => $this->input->post('email'),
				'contact' => $this->input->post('contact'),
				'photo' => $new_photo,
				'status' => $this->input->post('status'),
			);

			$this->load->model('dashboard_model','userdata');

			if($this->userdata->update_user_detail_model($id,$data))
			{
				$this->session->set_flashdata('msg','User data has been updated successfully!');
				$this->session->set_flashdata('msg_class','alert-success');
			}
			else{
				$this->session->set_flashdata('msg','User data has not been updated successfully!');
				$this->session->set_flashdata('msg_class','alert-danger');
			}
			return redirect('dashboard');
		}
		else{
			$this->load->view('edit_user/'.$id);
		}
	}

}

?>
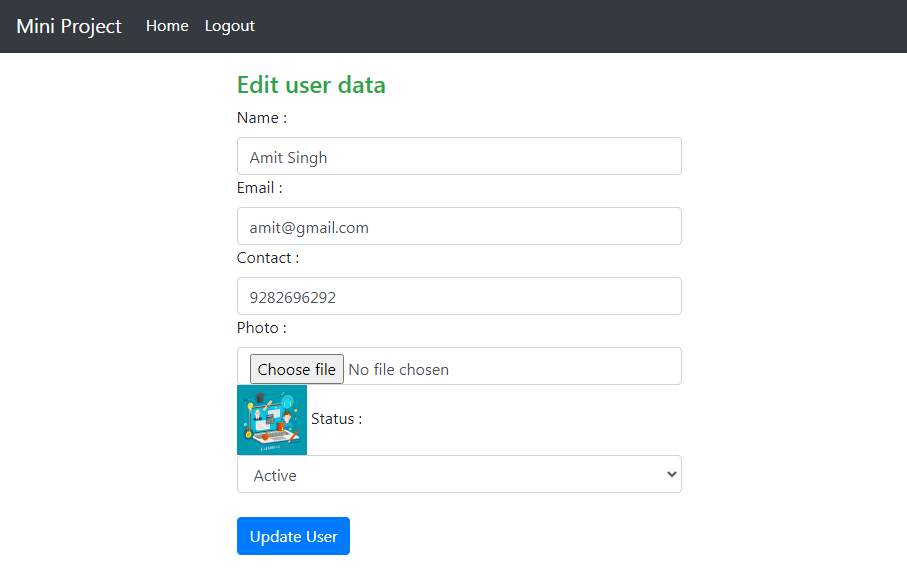
Step 3 : Add code in user edit view page.
<form action="<?php echo base_url(); ?>dashboard/update_user_detail" method="post" enctype="multipart/form-data">

  <label>Name : </label>
  <input type="text" name="name" placeholder="Enter Name" class="form-control" value="<?php echo $user->username; ?>">
  <input type="hidden" name="user_id" value="<?php echo $user->id; ?>">
  <?php echo form_error('name','<p class="text-danger">','</p>'); ?>

  <label>Email : </label>
  <input type="text" name="email" placeholder="Enter Email" class="form-control" value="<?php echo $user->email; ?>">
  <?php echo form_error('email','<p class="text-danger">','</p>'); ?>

  <label>Contact : </label>
  <input type="text" name="contact" placeholder="Enter Mobile Number" class="form-control" value="<?php echo $user->contact; ?>">
  <?php echo form_error('contact','<p class="text-danger">','</p>'); ?>

  <label>Photo : </label>
  <input type="file" name="photo" class="form-control">
  <input type="hidden" name="old_photo" value="<?php echo $user->photo; ?>">

  <?php if($user->photo != ''){ ?>
      <img src="<?php echo base_url(); ?>upload/<?php echo $user->photo; ?>" style="width: 70px; height: 70px;">
  <?php }else{ ?>
      <img src="<?php echo base_url(); ?>upload/user.jpg" style="width: 70px; height: 70px;">
  <?php } ?>

  <label>Status : </label>
  <select class="form-control" name="status">
    <option value="">---Select Status---</option>
    <option value="1" <?php if($user->status == 1){echo'selected';} ?>>Active</option>
    <option value="0" <?php if($user->status == 0){echo'selected';} ?>>Inactive</option>
  </select>
  <?php echo form_error('status','<p class="text-danger">','</p>'); ?>

  <button type="submit" class="btn btn-primary">Update User</button>

</form>
Result :
Source Code:
Codeigniter tutorial for beginners
In this project. We are providing you, how to create small project in Codeign....
Source CodeSEARCH POST HERE

 Click to Join