Login with Database
In this tutorial, Is user existed in database. If yes, so it will send you to dashboard other it will show invalid credentials.
Step 1 : Go to your login page so that we will create a form action on the login page that when we are trying to login and in that we have not filled my email and password then we get a error message over there.
Like : <form method="post" action="{{url('/main/checklogin')}}">
eg:
<form method="post" action="{{url('/main/checklogin')}}">

  {{csrf_field()}}

  <div class="form-group">
    <label>Email : </label>
    <input type="email" name="email" class="form-control">
  </div>

  <div class="form-group">
    <label>Password : </label>
    <input type="password" name="password" class="form-control">
  </div>

  <button type="submit" name="login" class="btn btn-primary">Login</button>
  <p>Don't have an account <a href="#">Register Here</a></p>

</form>
Step 2 : Now create a route in web.php for check login.
Route::post('/main/checklogin','MainController@checklogin');
Step 3 : Open your main controller file and create a checklogin function.
<?php

namespace App\Http\Controllers;

use Illuminate\Http\Request;
use validator;
use Auth;

class MainController extends Controller
{

	function index()
	{
		return view('login');
	}

	function checklogin(Request $request){
		$validateData = $this->validate($request,[
			'email' => 'required|email',
			'password' => 'required|alphaNum|min:5'
		]);

		//get details
		$user_data = array(
			'email' => $request->get('email'),
			'password' => $request->get('password')
		);

		//if user exist in database, so it will redirect on dashboard otherwise back to login page and show wrong login details.
		if(Auth::attempt($user_data)){
			return redirect('main/successlogin');
		}else{
			return back()->with('error','Wrong login details');
		}
	}

}
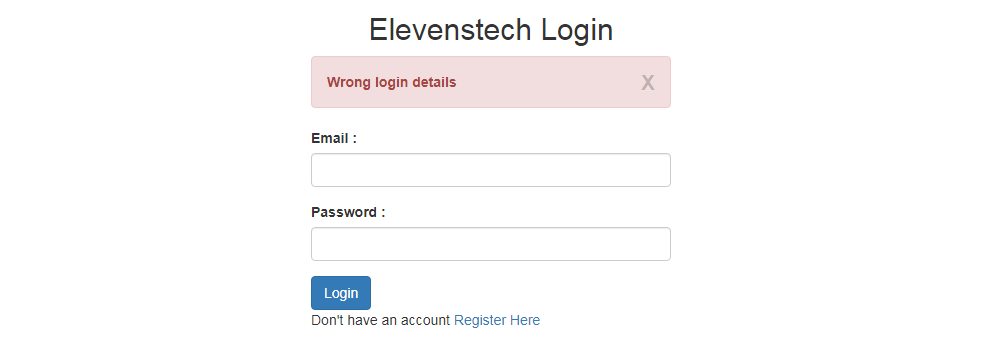
Step 4 : In this, we will show the wrong login details message on login page.
@if($message = Session::get('error'))
    <div class="alert alert-danger alert-block">
         <button type="button" class="close" data-dismiss="alert">X</button>
         <strong>{{$message}}</strong>
    </div>
@endif
Step 5 : Create success login function in Login controller, it means user exist in database so user redirect to success login page (dashboard).
function successlogin()
{
	return view('successlogin');
}
Step 6 : Create success login page (successlogin.blade.php) for dashboard.
<!DOCTYPE html>
<html lang="en">
<head>
<title>Dashboard</title>
<meta charset="utf-8">
<meta name="viewport" content="width=device-width, initial-scale=1">
<link rel="stylesheet" href="https://maxcdn.bootstrapcdn.com/bootstrap/3.4.1/css/bootstrap.min.css">
<script src="https://ajax.googleapis.com/ajax/libs/jquery/3.5.1/jquery.min.js"></script>
<script src="https://maxcdn.bootstrapcdn.com/bootstrap/3.4.1/js/bootstrap.min.js"></script>
</head>
<body>
<div class="container" style="margin-top: 20px;">
<div class="row">
<div class="col-sm-12">
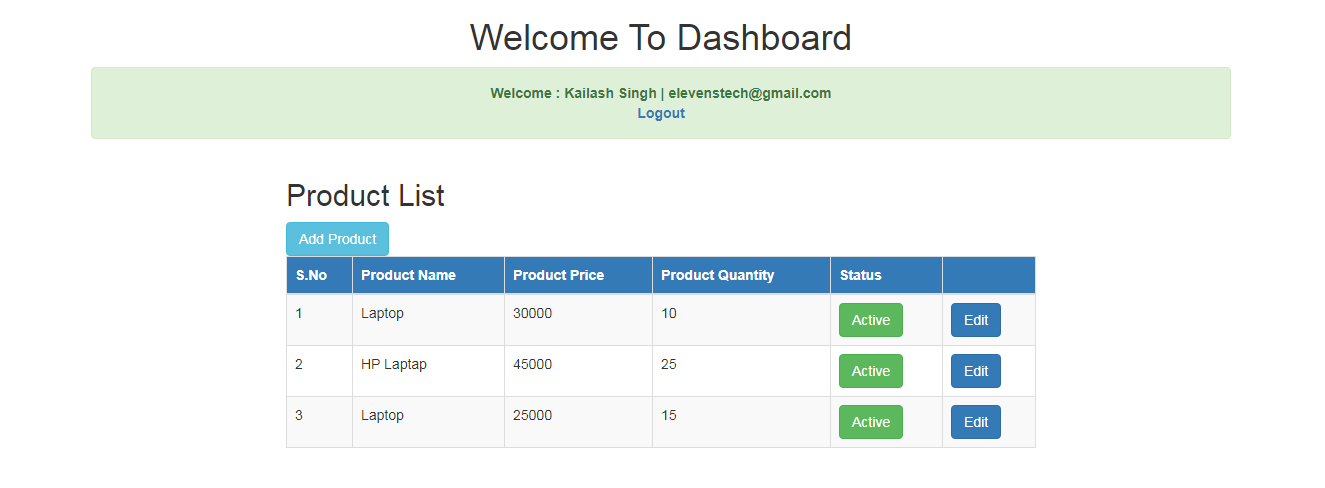
<h1 style="text-align: center;">Welcome To Dashboard</h1>
</div>
</div>
</div>
</body>
</html>
Step 7 : Now create a route in web.php for success login.
Route::get('/main/successlogin','MainController@successlogin');
Click here to download complete code of login
Result :
Source Code:
Small Laravel Project
In this project. We are providing you, how to create small project in Laravel....
Source CodeSEARCH POST HERE

 Click to Join