Project Tutorials
Introduction of Laravel Setup and Installation of Laravel Project Laravel Structure Create Login Page Design Validation on Login Login with Database Display Username after Login Logout Register Design Dashboard Page Add Product List Products from Database Edit product from database Active Inactive user statusLogout
In this tutorial, we will learn how to create logout.
Step 1 : Create logout button on dashboard page (successlogin.blade.php).
<a href="{{url('/main/logout')}}">Logout</a>
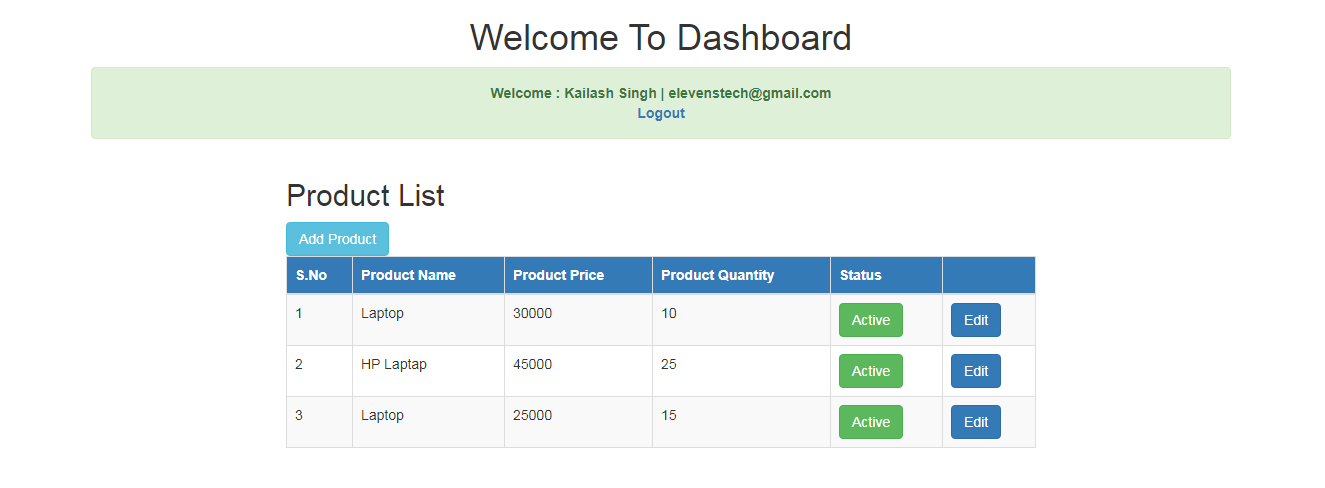
We will also check if the user has logged in. So he could not go to the dashboard page without login. For this, we will create a if else condition in dashboard view page, in which we will check that if the user is not logged in then he cannot return to the dashboard page untill he login.
Complete code of dashboard page :
<!-- Here i am checking user login or not -->
@if(isset(Auth::user()->email))

  <div class="alert alert-success success-block" style="text-align: center;">
    <strong>

         Welcome : {{ Auth::user()->name }} <br>
        <p>Your email is : {{ Auth::user()->email }} </p><br>

        <!-- Create logout button here -->
        <a href="{{url('/main/logout')}}">Logout</a>

    </strong>
  </div>

@else

  <script>window.location="/main";</script>

@endif
Step 2 : Open your main controller and create logout function.
function logout()
{

	Auth::logout();

	return redirect('main');

}
Step 3 : Now create a route in web.php for logout and redirect to main.
Route::get('/main/logout','MainController@logout');

Route::get('/main','MainController@index');
Result :

Source Code:
Small Laravel Project
In this project. We are providing you, how to create small project in Laravel....
Source CodeElevenstech Web Tutorials
Elevenstech Web Tutorials helps you learn coding skills and enhance your skills you want.
As part of Elevenstech's Blog, Elevenstech Web Tutorials contributes to our mission of “helping people learn coding online”.
Read More
Newsletter
Subscribe to get the latest updates from Elevenstech Web Tutorials and stay up to date


 Click to Join


