Google Login Integration in Codeigniter
Google Login Integration in Codeigniter
Published Jul 07,2024 by Kailash Singh
0 Comment 3413 Views
In this tutorial, we'll go through the steps to integrate Google's OAuth authentication into a CodeIgniter website. This will allow users to log in using their Google accounts. Follow these steps:
Step 1: Set Up Google Developer Console
1) Create a Project:
- Go to the Google Developer Console ( https://console.developers.google.com/ ).
- Create a new project or select an existing one.

2) After clicking on the project link, a new page will open where you need to enter the project name and click on the 'Create' button.
 3) Afterward, you'll see the newly created project on the webpage. Next, click on the 'OAuth consent screen' link.

4) After clicking on 'OAuth consent screen', a new page will load in the browser. Here, you will see two options for User Type. Select 'External' from these options and click on the 'Create' button.

5) After clicking the 'Create' button, the webpage will redirect to a new page where you need to define the Application Name and Developer detail (eg. email) and also complete all the steps (You can also leave the blank fields in other tabs). After entering the name and developer details, click on the 'Save' button.

6) After clicking the 'Save' button, the webpage will redirect to a page where you can view your application details. Next, click on the 'Credentials' link in the left-side menu.

7) After clicking on the 'Credentials' link, the Credentials webpage will load in the browser. Here, you need to click on the 'CREATE CREDENTIALS' button. Once you click on the "CREATE CREDENTIALS" button, a dropdown will appear on the webpage with four options. From those options, you need to select the "OAuth client ID" link.

8) When you click on the "OAuth client ID" option, a new page will load in your browser. Here, you need to select "Web Application" from the available options under "Application Type".

9) After selecting "Web Application," a new field will appear below where you need to enter the details for the "Name" field and define the "Authorized redirect URIs." These URIs are used for handling requests from the server. Finally, click on the "Create" button to complete the process.

10) After clicking the "Create" button, your application will be registered, and a new page will load displaying your application's Client ID and Client Secret key. You will need to use both of these keys in the CodeIgniter framework to enable login using Google Account. These keys are essential for authenticating your application with Google's OAuth service.

2) Download Google API php client library
Once you have obtained your Google Client ID and Client Secret key, the next step is to download the Google API Client Library for PHP. Start by opening your command prompt where Composer is installed. Navigate to the library folder of your CodeIgniter framework where you intend to install the library. Then, execute the following command:
composer require google/apiclient:"^2.0"
3) Create table in database.
CREATE TABLE `social_login` (
  `id` int(11) NOT NULL,
  `login_oauth_userid` int(11) DEFAULT NULL,
  `first_name` varchar(200) DEFAULT NULL,
  `last_name` varchar(200) DEFAULT NULL,
  `email` varchar(200) DEFAULT NULL,
  `profile` varchar(300) DEFAULT NULL,
  `created_at` timestamp NOT NULL DEFAULT current_timestamp(),
  `updated_at` timestamp NOT NULL DEFAULT current_timestamp()
) ENGINE=InnoDB DEFAULT CHARSET=latin1 COLLATE=latin1_swedish_ci;
4) Create Controller
In the CodeIgniter framework, a controller is used to handle HTTP requests. Controller class files are typically stored under the application/controllers folder. Let's create a controller named Gmail_login.php and define some methods within it:
<?php
defined('BASEPATH') OR exit('No direct script access allowed');

class Gmail_login extends CI_Controller {

    public function __construct()
    {
        parent::__construct();
        $this->load->model('gmail_login_model');
    }

    function login()
    {
        include_once APPPATH . "libraries/vendor/autoload.php";

        $google_client = new Google_Client();

        $google_client->setClientId(''); //Define your ClientID

        $google_client->setClientSecret(''); //Define your Client Secret Key

        $google_client->setRedirectUri(''); //Define your Redirect Uri

        $google_client->addScope('email');

        $google_client->addScope('profile');

        if(isset($_GET["code"]))
        {
            $token = $google_client->fetchAccessTokenWithAuthCode($_GET["code"]);

            if(!isset($token["error"]))
            {
                $google_client->setAccessToken($token['access_token']);

                $this->session->set_userdata('access_token', $token['access_token']);

                $google_service = new Google_Service_Oauth2($google_client);

                $data = $google_service->userinfo->get();
                if($this->gmail_login_model->is_user_already_register($data['id']))
                {
                    $users = array(
                        'first_name' => $data['given_name'],
                        'last_name'  => $data['family_name'],
                        'email' => $data['email'],
                        'profile'=> $data['picture'],
                        'updated_at' => date('Y-m-d H:i:s')
                    );
                    $this->gmail_login_model->update_user_details($user_data, $data['id']);
                }
                else
                {
                    $users = array(
                        'login_oauth_userid' => $data['id'],
                        'first_name'  => $data['given_name'],
                        'last_name'   => $data['family_name'],
                        'email'  => $data['email'],
                        'profile' => $data['picture'],
                        'created_at'  => date('Y-m-d H:i:s')
                    );
                    $this->gmail_login_model->insert_user_details($users);
                }
                $this->session->set_userdata('users', $users);
            }
        }

        $data = [];
        if(!$this->session->userdata('access_token'))
        {
            $gmail_button = '<a href="'.$google_client->createAuthUrl().'"><img src="'.base_url().'assets/gmail.png"></a>';
            $data['gmail_button'] = $gmail_button;
            $this->load->view('gmail_login', $data);
        }
        else
        {
            $this->load->view('gmail_login', $data);
        }
    }

    function logout()
    {
        $this->session->unset_userdata('access_token');
        $this->session->unset_userdata('users');
        redirect('gmail_login/login');
    }

}
?>
5) Create Model
<?php
class Gmail_login_model extends CI_Model
{
    function Is_user_already_register($oauth_id)
    {
        $this->db->where('login_oauth_userid', $oauth_id);
        $query = $this->db->get('social_login');
        if($query->num_rows() > 0)
        {
            return true;
        }
        else
        {
            return false;
        }
    }

    function Insert_user_details($data)
    {
        $this->db->insert('social_login', $data);
    }

    function Update_user_details($data, $oauth_id)
    {
        $this->db->where('login_oauth_userid', $oauth_id);
        $this->db->update('social_login', $data);
    }
}
?>
6) Create View file
<html>
<head>
<meta http-equiv="Content-Type" content="text/html; charset=utf-8" />
<title>Google Login Integration in Codeigniter - Elevenstech Web tutorials</title>
<meta content='width=device-width, initial-scale=1, maximum-scale=1' name='viewport'/>
<script src="https://ajax.googleapis.com/ajax/libs/jquery/2.1.3/jquery.min.js"></script>
<script src="https://maxcdn.bootstrapcdn.com/bootstrap/3.3.6/js/bootstrap.min.js"></script>
<link href="https://maxcdn.bootstrapcdn.com/bootstrap/3.3.6/css/bootstrap.min.css" rel="stylesheet" />
</head>
<body>
<div class="container">
<br />
<div style="background: #2196f3; padding: 10px; color: #fff;">
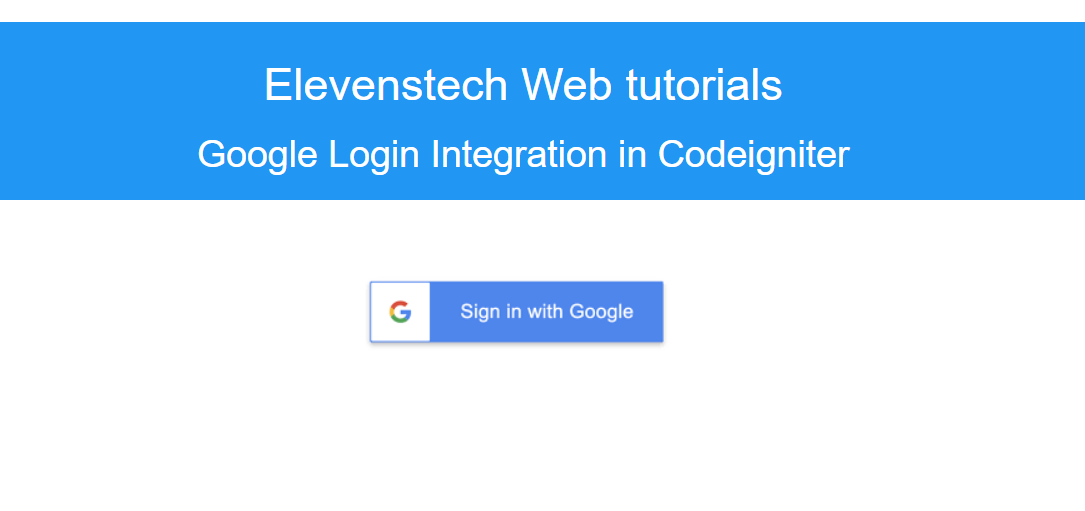
<h1 align="center">Elevenstech Web tutorials</h1><h2 align="center">Google Login Integration in Codeigniter</h2>
</div>
<br />
<div>
<?php
if(!isset($gmail_button))
{
$users = $this->session->userdata('users');
echo '<img src="'.$users['profile'].'" class="img-responsive img-circle img-thumbnail" />';
echo '<h3>Welcome <b>'.$users["first_name"].' '.$users['last_name']. '</b></h3>';
echo '<h3><b>Email :</b> '.$users['email'].'</h3>';
echo '<h3><a href="'.base_url().'gmail_login/logout">Logout</h3>';
}
else
{
echo '<div align="center">'.$gmail_button . '</div>';
}
?>
</div>
</div>
</body>
</html>
Comments ( 0 )
SEARCH POST HERE

 Click to Join